Herdy's Halloween Cookies
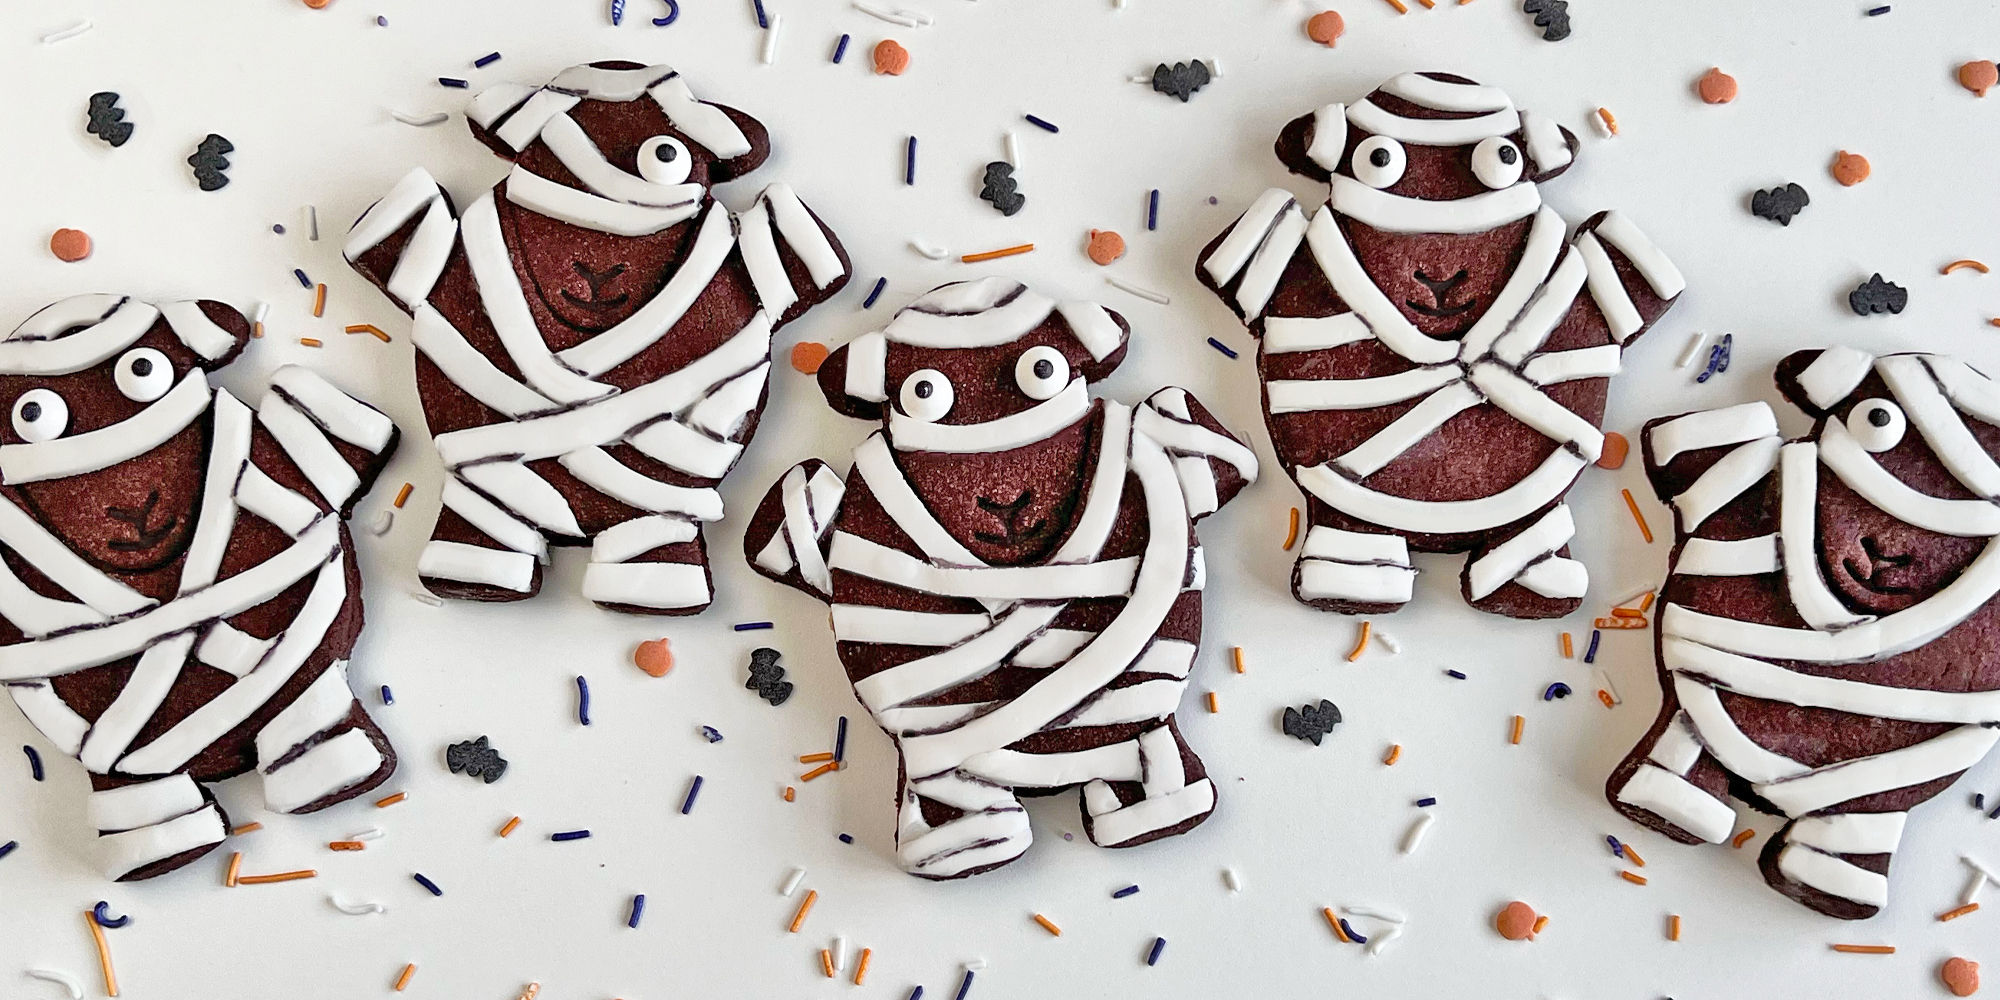
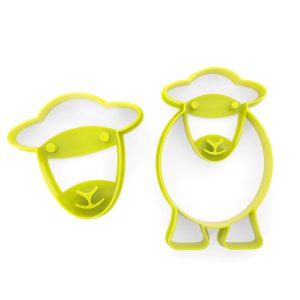
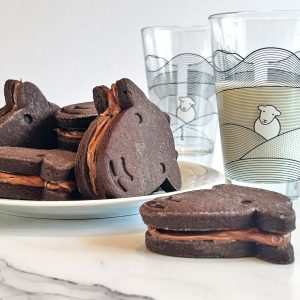
These chocolatey treats are not just delicious, they're a baa-rilliant twist on traditional Halloween cookies. Perfect for kids, trick or treating, or parties, these cookies will have everyone screaming... with delight! So grab your Herdy Cookie Cutter and let's make some sheepishly spooky snacks that'll have ewe flocking for more.
- Makes 10 Cookies
- Takes Approximately 1 Hour (plus chilling time)
- Difficulty Rating: Medium
Ingredients
Cookie
- 200g Unsalted Butter
- 110g Caster Sugar
- 1 tsp Vanilla Extract
- 280g Plain Flour
- 50g Cocoa Powder
- 4 tbsp milk
Decoration
- 500g ready to roll Royal Icing
- Icing Sugar
- Googly Eyes (optional)
- Edible Ink Pen (optional)
Method
1 - In a large mixing bowl, cream together the softened butter and caster sugar until smooth and creamy, using a wooden spoon.
2 - Gradually sieve in the flour and cocoa powder along with the vanilla extract. As you begin to bring your ingredients together, add the milk to ensure a smooth dough. Use your hands to finish combining the mixture.
3 - Wrap the dough in cling film and pop in the fridge for 30 minutes to allow it to firm up, this will help your biscuits keep their shape while baking.


4 - Preheat your oven to 180°C (350°F) or gas mark 4.
5 - Roll out your dough to approximately 7mm thick on a well-floured surface. Using the larger Herdy cookie cutter, cut out as many biscuits as you can, we made 10. Place them on a non-stick baking tray or line your tray with parchment paper, leaving space between each cookie.
6 - To give your Mummy cookies arms, use Herdys feet shapes from the cookie cutter. To attach the arms to the bodies, use a little bit of pressure to secure them in place and carefully smooth over the joint.


TOP TIP: To make sure your biscuits keep Herdy's famous smile, be sure to flour your cookie cutter well.
7 - Bake for 10-12 minutes then remove from the oven and allow to fully cool on a wire rack.
8 - As the biscuits are cooking, roll out your Royal Icing to approximately 2mm thick on a plastic chopping board, make sure the surface is covered with a good amount of icing sugar to prevent sticking.


9 - Using a sharp knife, cut strips of icing around 4mm in width, don't worry if your lines are a bit wonky, this will help add to the effect.
TOP TIP: If one (or two) of Herdys arms fall off during baking, use a little bit of icing sugar and water as a glue to reattach.
10 - Once your biscuits are fully cooled, you can start applying your strips of royal icing (bandages). To attach the strips, mix together 2 heaped teaspoons of icing sugar with a splash of water to create a paste, this will act as your glue. Using a paint brush (or carefully dunking) apply a thin coat to one side of your icing strip, then lay your strip onto your cookie. Be creative with your design and be sure to attach strips to all Herdy’s body parts to achieve the full effect. Use a sharp knife to trim the strips to the size you need.


Optional: Use a black edible pen to add shadow to your icing bandages.
11 - Allow your cookies to sit for 30 mins or until the icing sugar mixture has dried. Finally, you can add edible googly eyes to your cookies to make them extra spooky! Use a little of your icing sugar mix to secure in place.

